iostream212
Active Member
Here are a few photos and thoughts after completing a massive structured wiring panel upgrade.
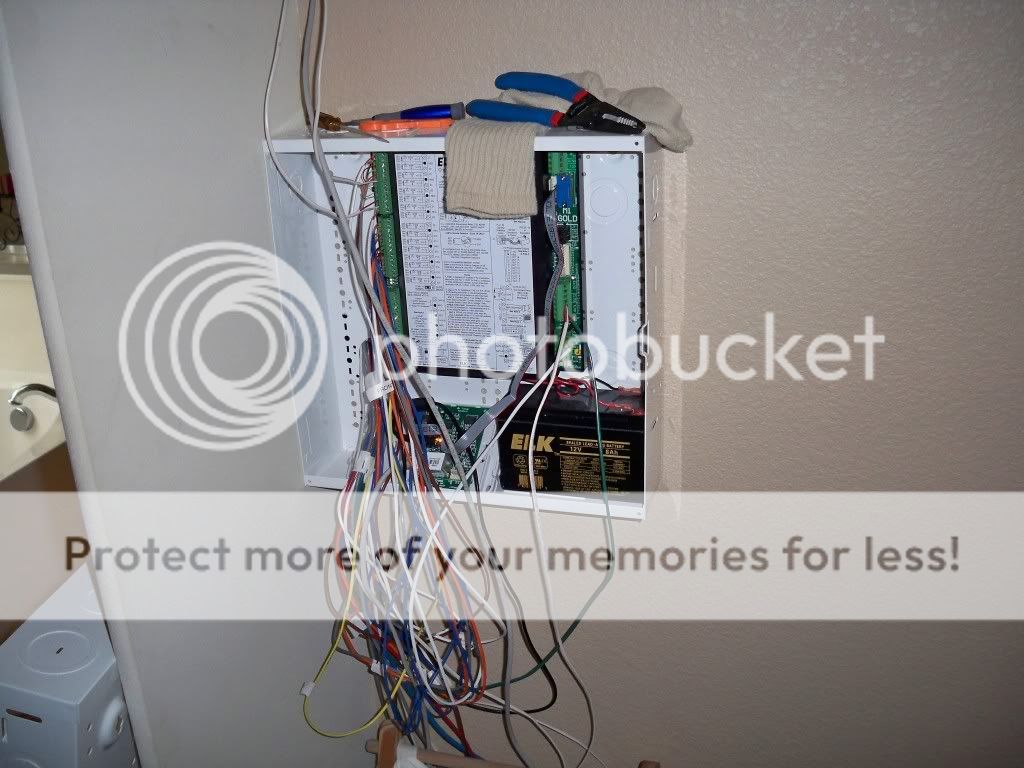
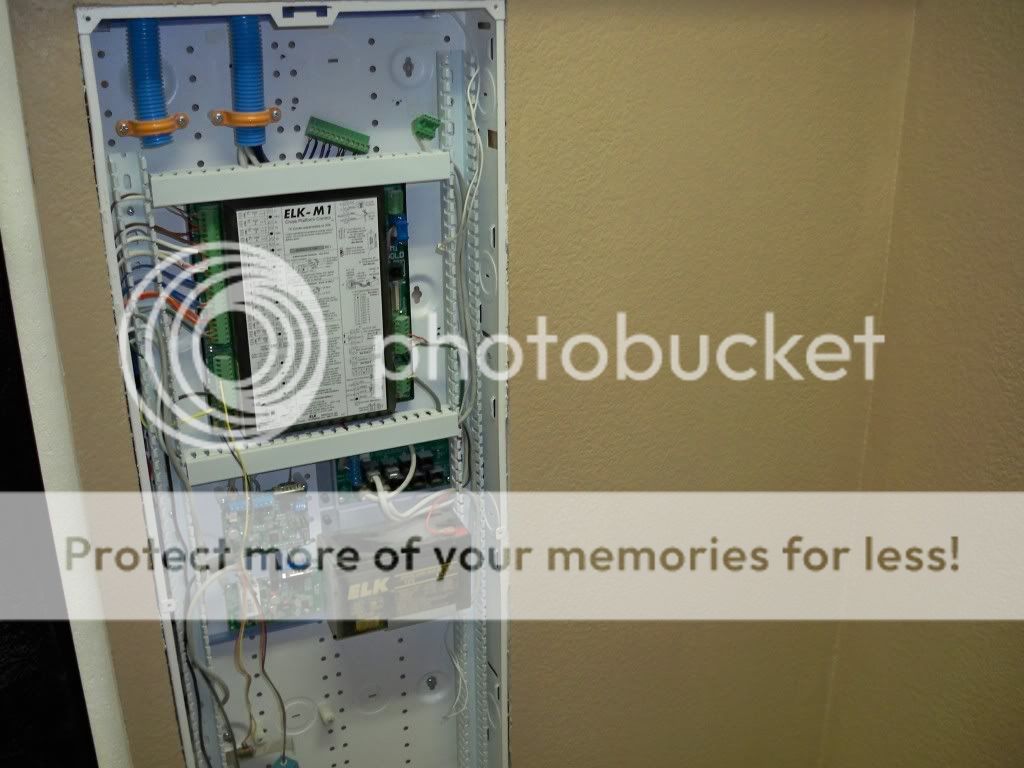
It all started humbly with the Elk starter can.
It was a nice home for a while but not enough to handle all the components I needed for a full home automation install.
As you can see the can is pretty much maxed out. This is located in my master closet because this is where the alarm prewiring ended.
The plan is to:
1.) Install a new larger can
2.) Bring power to it
3.) Build a wall around it giving the illusion that the can is flush mounted.
The wall behind the can didn't allow me to flush mount the can because of what was already in the wall.
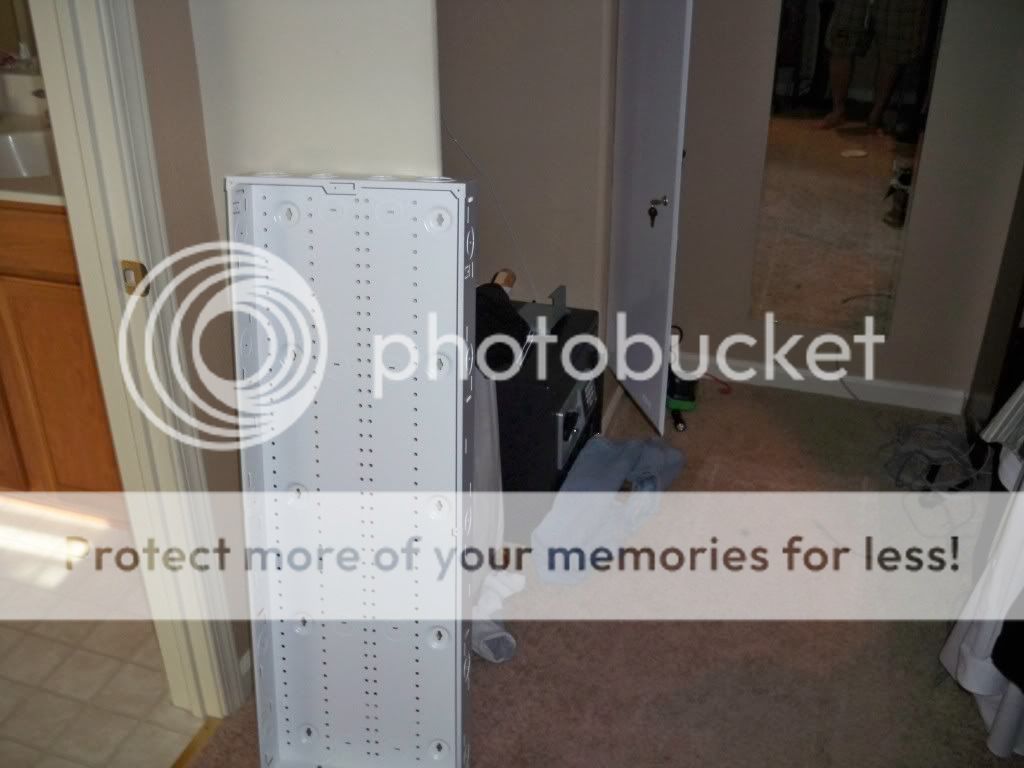
Here is a shot of the new can before install. (Leviton 42")
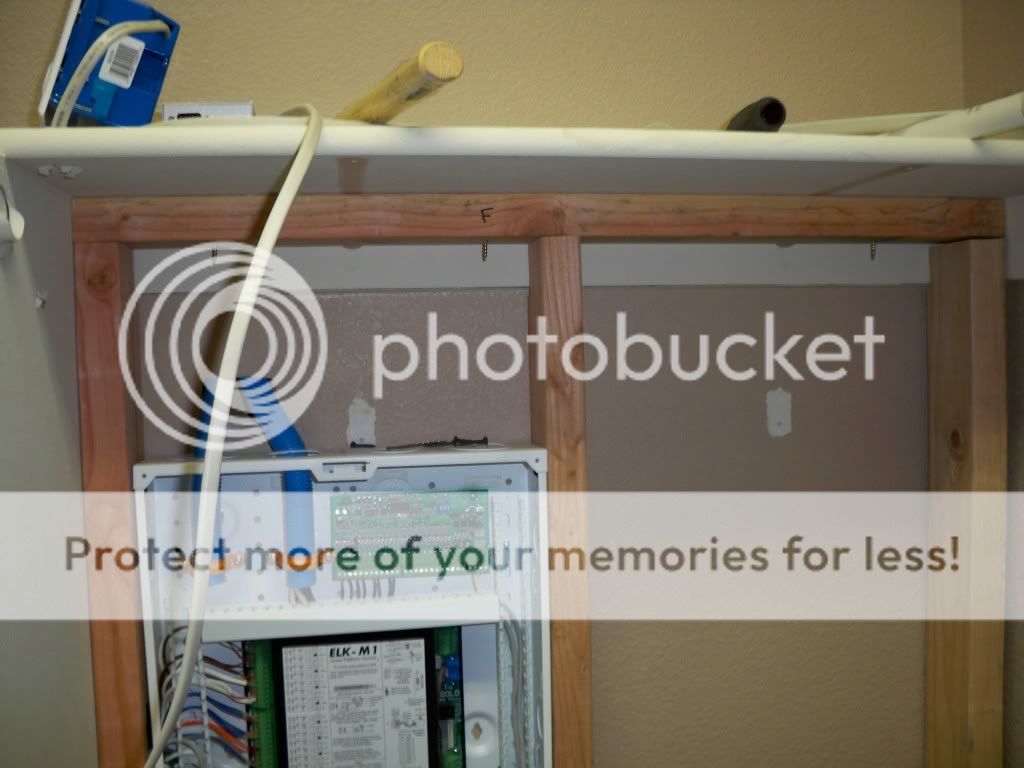
Here are a few shots after I began framing.
The smurf tube had been run to the attic at this point. I am still bummed cause Home Depot only had 3/4" tubing available. Oh well. I am using nylon spacers and orange clamps from Smarthome to secure the tubing to the can.
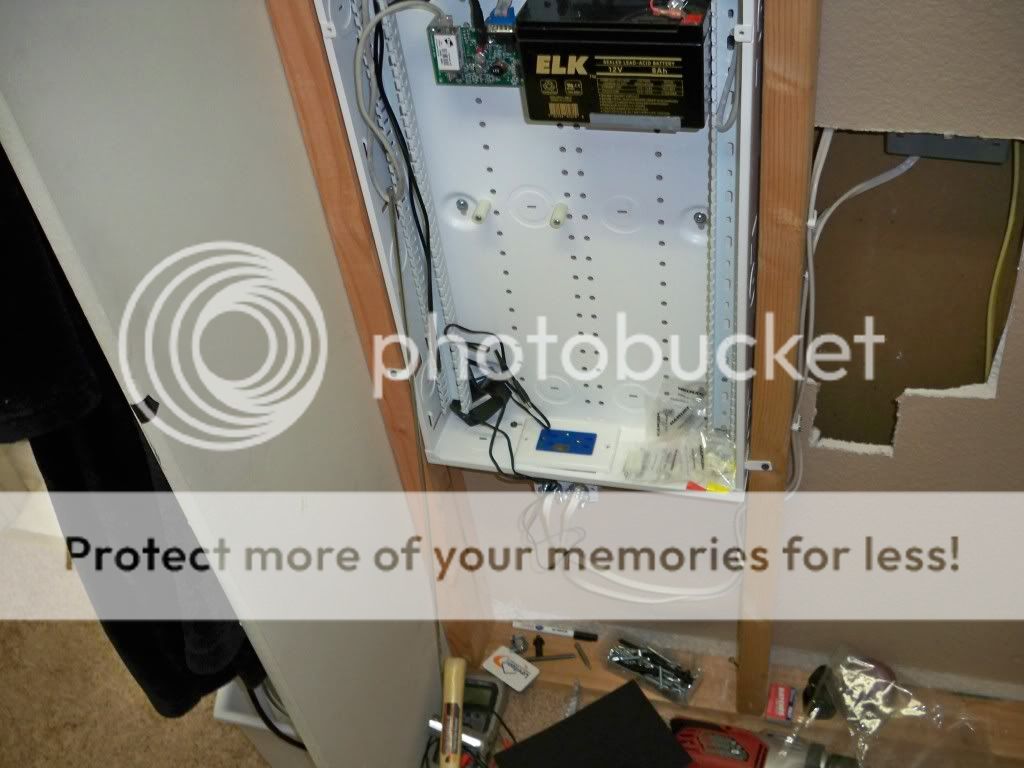
Here is a shot of the bottom of the can at this phase.
Here I am connecting the power I ran from the attic into the awesomely cool and overpriced surge protection receptacle. You can also see a few posts that I used to mount my boards. I wanted a streamline look and didn't want to clutter the box with adapter plates. Instead I used a metal drill bit and drilled holes into the can where I wanted to mount items. Then I used nylon spacers from Home Depot (they're in the pull out drawers with the other specialty screws and hardware). This gave me the nice look I wanted and also allowed me to route wires behind the raised components.
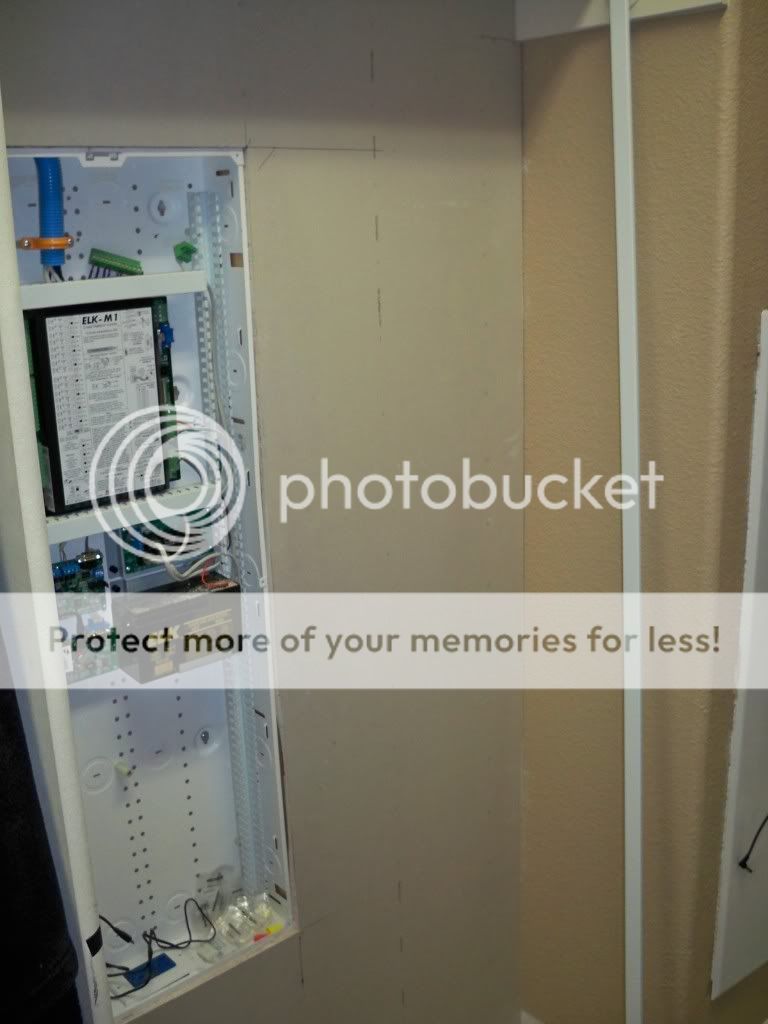
Here is a shot after the drywall went up.
Drywall sanding and texture

The wall after texture and paint.
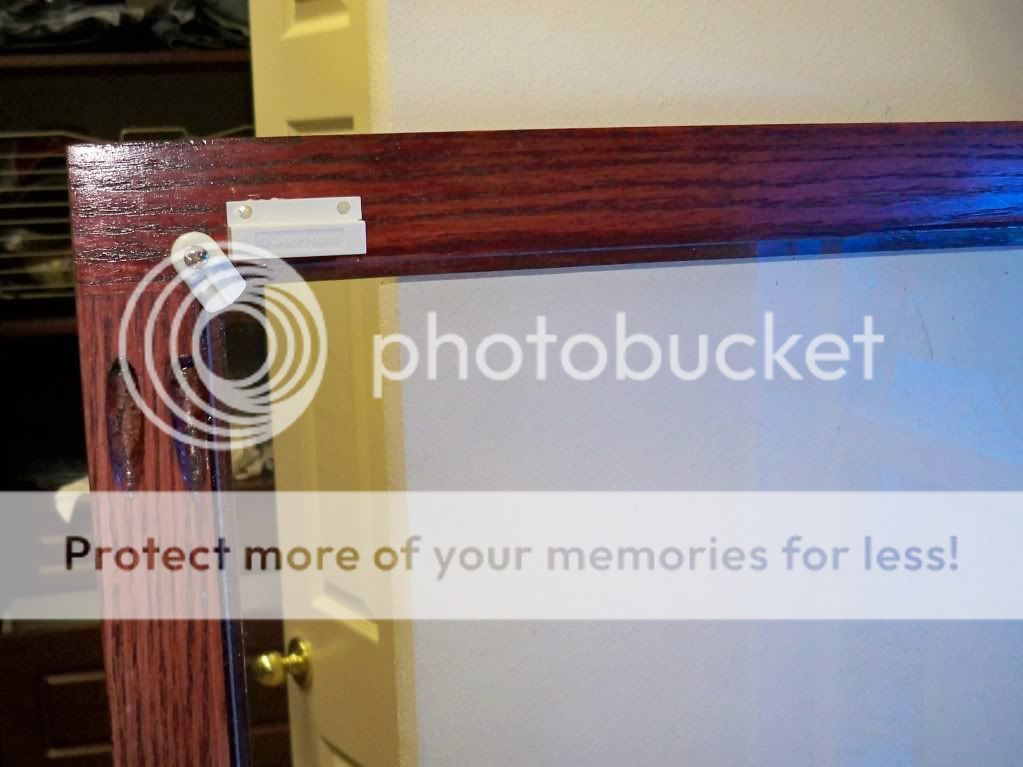
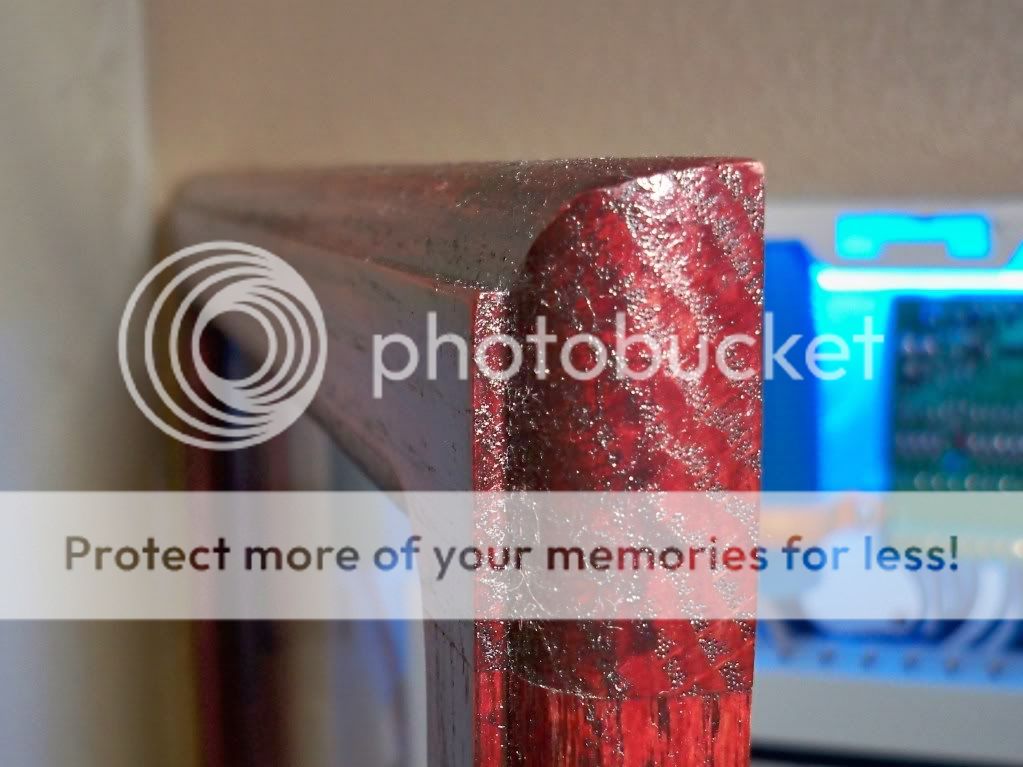
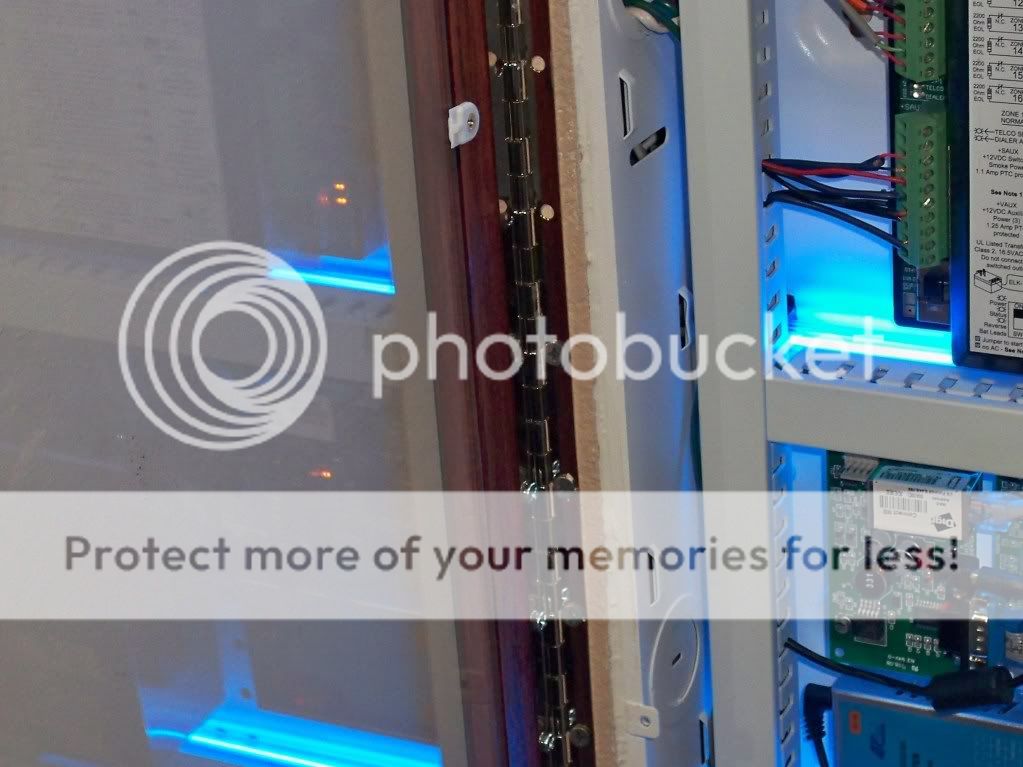
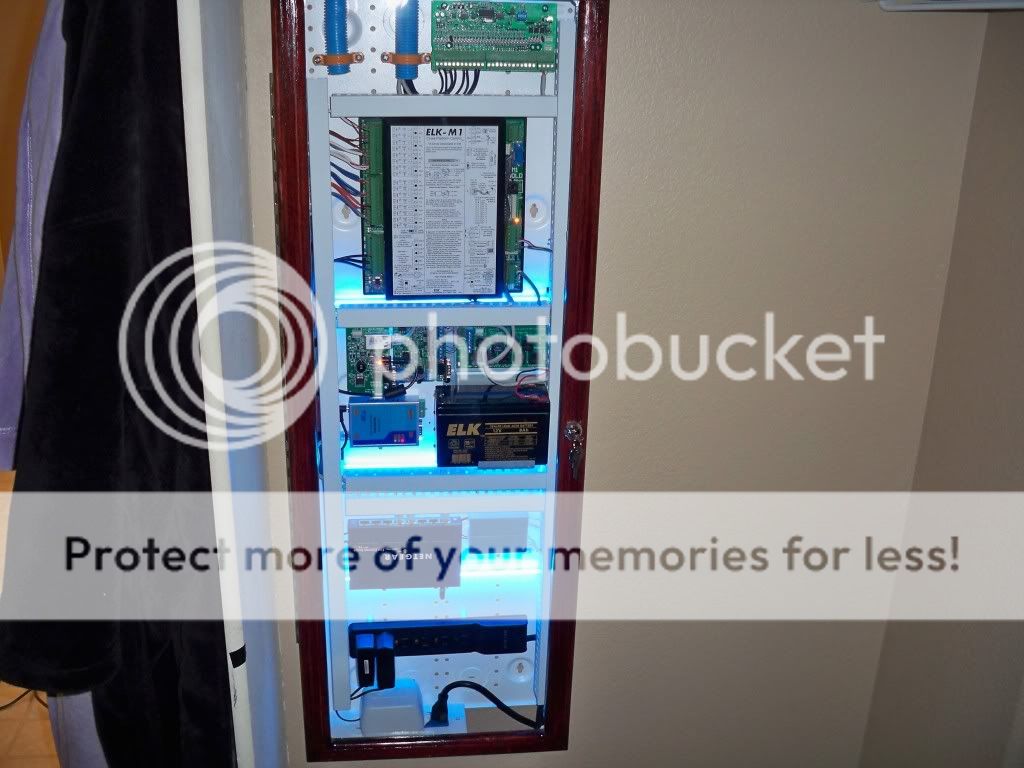
Finished can.
I made a custom frame with a cherry stain and plexiglass insert.
Also a little drama lighting never hurt

It all started humbly with the Elk starter can.
It was a nice home for a while but not enough to handle all the components I needed for a full home automation install.
As you can see the can is pretty much maxed out. This is located in my master closet because this is where the alarm prewiring ended.
The plan is to:
1.) Install a new larger can
2.) Bring power to it
3.) Build a wall around it giving the illusion that the can is flush mounted.
The wall behind the can didn't allow me to flush mount the can because of what was already in the wall.
Here is a shot of the new can before install. (Leviton 42")
Here are a few shots after I began framing.
The smurf tube had been run to the attic at this point. I am still bummed cause Home Depot only had 3/4" tubing available. Oh well. I am using nylon spacers and orange clamps from Smarthome to secure the tubing to the can.
Here is a shot of the bottom of the can at this phase.
Here I am connecting the power I ran from the attic into the awesomely cool and overpriced surge protection receptacle. You can also see a few posts that I used to mount my boards. I wanted a streamline look and didn't want to clutter the box with adapter plates. Instead I used a metal drill bit and drilled holes into the can where I wanted to mount items. Then I used nylon spacers from Home Depot (they're in the pull out drawers with the other specialty screws and hardware). This gave me the nice look I wanted and also allowed me to route wires behind the raised components.
Here is a shot after the drywall went up.
Drywall sanding and texture
The wall after texture and paint.
Finished can.
I made a custom frame with a cherry stain and plexiglass insert.
Also a little drama lighting never hurt