pete_c
Guru
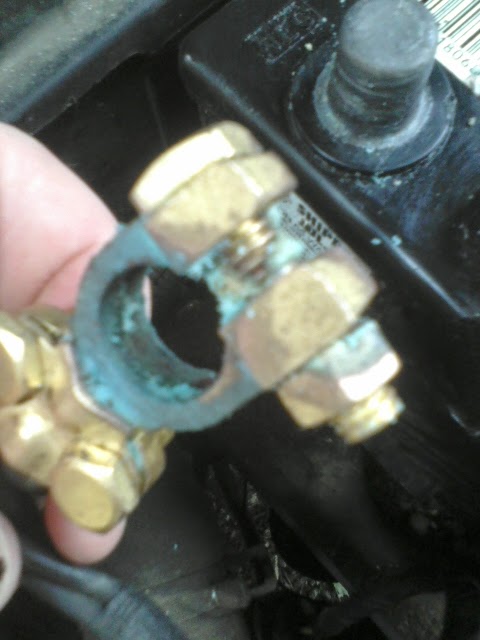
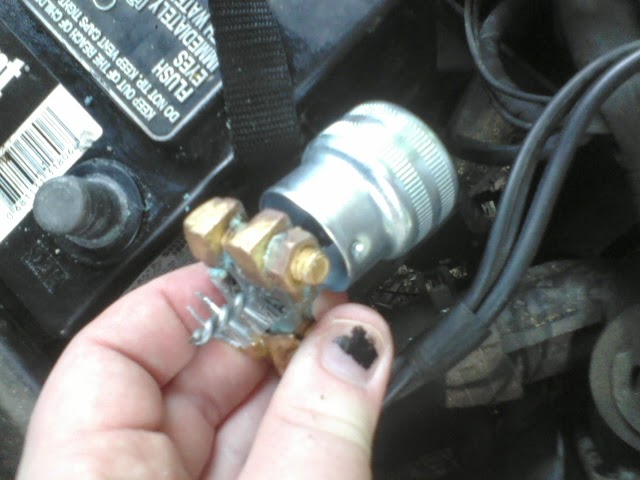
About two weeks ago replaced the battery on my wife's car.
I could not remove the postive lead on the battery no matter what I tried such that I replaced it.
I did clean the posts and used a stiff wire brush to remove the residue on the battery post.
I started then to tap the terminal post with a hammer and broke it with the first tap and the terminal post came right off.
The lead was short such that I just purchased one that looked similiarly guaged (8?) and put the right ends on it.
It was a PITA
That said I also did some LV wiring outside in the last few weeks.
I couldn't solder the outdoor LV wires so I dipped them initially in a vinegar/salt mixture for a few minutes then a sodium bicarbonate/water paste mixture.
The two mixtures cleaned the copper wires such that I could solder on them. 5 minutes each mixture.
I have never tried this methodology with an automobile wire before. (and didn't even think or consider doing this when I replaced the battery on the wifes car earlier).