pete_c
Guru
Purchased a couple of SONOFF THR316 Origin devices for conversion to Tasmota 1-Wire networks and doing a pictorial here.
 itead.cc
Shipping was around 30 days for these devices via USPS.
I am using 3 of these older models with combo Temperature and Humidity sensors. I am using first generation Sonoff Basic devices today for 4 DSXX sensors X 2. IE: have one in the basement and one in the attic. These two were originally using Espurna firmware and recently converted these to Tasmota.
I am surprised that the entire 1-wire library hasn't been imported over to the Tasmota firmware like the Arduino.
This is the GUI for the first Generation Sonoff Basic (R1) that I modded for use with the DSXXX temperature sensors. Hardware modifications involved cutting away the high voltage traces and soldering in to GPIO pins.


This is the GUI for first generation Sonoff DH (made for use with sensors and included a 120VAC relay)


 itead.cc
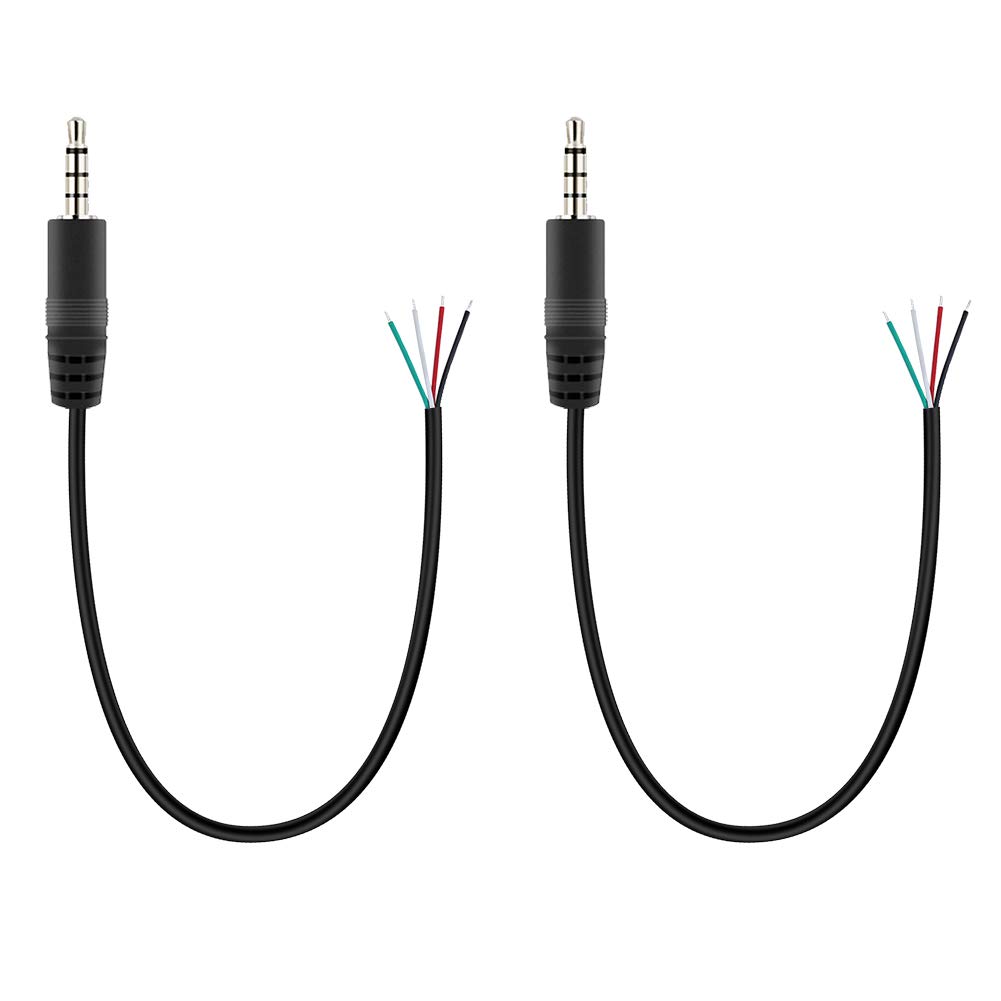
These will be connected to DS18XXX sensors (4 each).
 itead.cc
Purchased in bulk from Amazon.
Note that it is using a ESP32-D0WD-V3 rev.3 which is a combo WLAN and BT chip. There is no mention of BT on the label.
These are pictures of the new Sonoff DH316 with the ESP-DOWD-V3 rev.3 chip. Firmware includes many features.


Remove 4 philips screws on back and open case. JTAG using following pins which are labeled GND, RXO, TXO, 3V3.
Note here that I have the barebones versions of the Sonoff 16 AMP THR316 Origin device.
There is also the 20 amp version and the display version and the POW version.

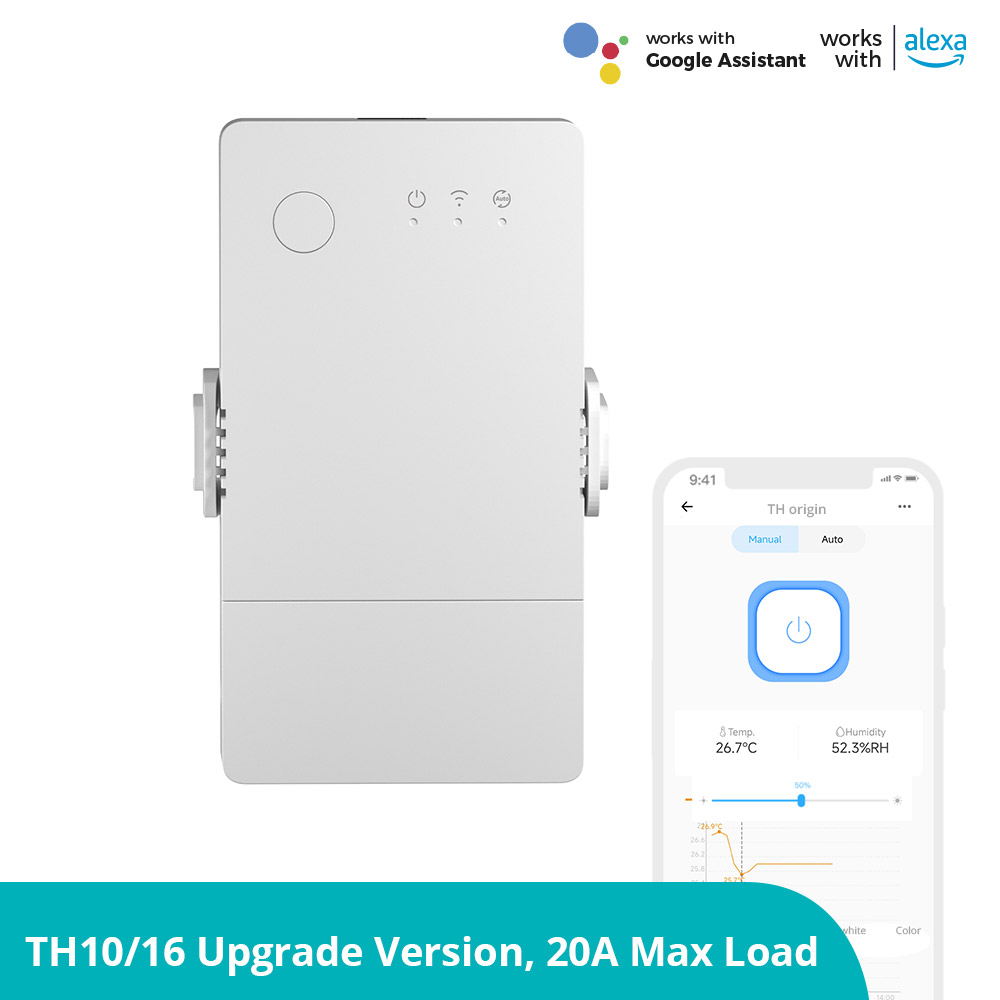
SONOFF TH Origin Smart Temperature and Humidity Monitoring Switch (TH10/16 Upgrade Version)
【20A Max Output】Support to connect 20A Max high load, compatible with more home appliances. 【6-Month Temp & Humi Historical Data by Hours】 Support to check the temp & hum history data by ho…
itead.cc
Shipping was around 30 days for these devices via USPS.
I am using 3 of these older models with combo Temperature and Humidity sensors. I am using first generation Sonoff Basic devices today for 4 DSXX sensors X 2. IE: have one in the basement and one in the attic. These two were originally using Espurna firmware and recently converted these to Tasmota.
I am surprised that the entire 1-wire library hasn't been imported over to the Tasmota firmware like the Arduino.
This is the GUI for the first Generation Sonoff Basic (R1) that I modded for use with the DSXXX temperature sensors. Hardware modifications involved cutting away the high voltage traces and soldering in to GPIO pins.
This is the GUI for first generation Sonoff DH (made for use with sensors and included a 120VAC relay)
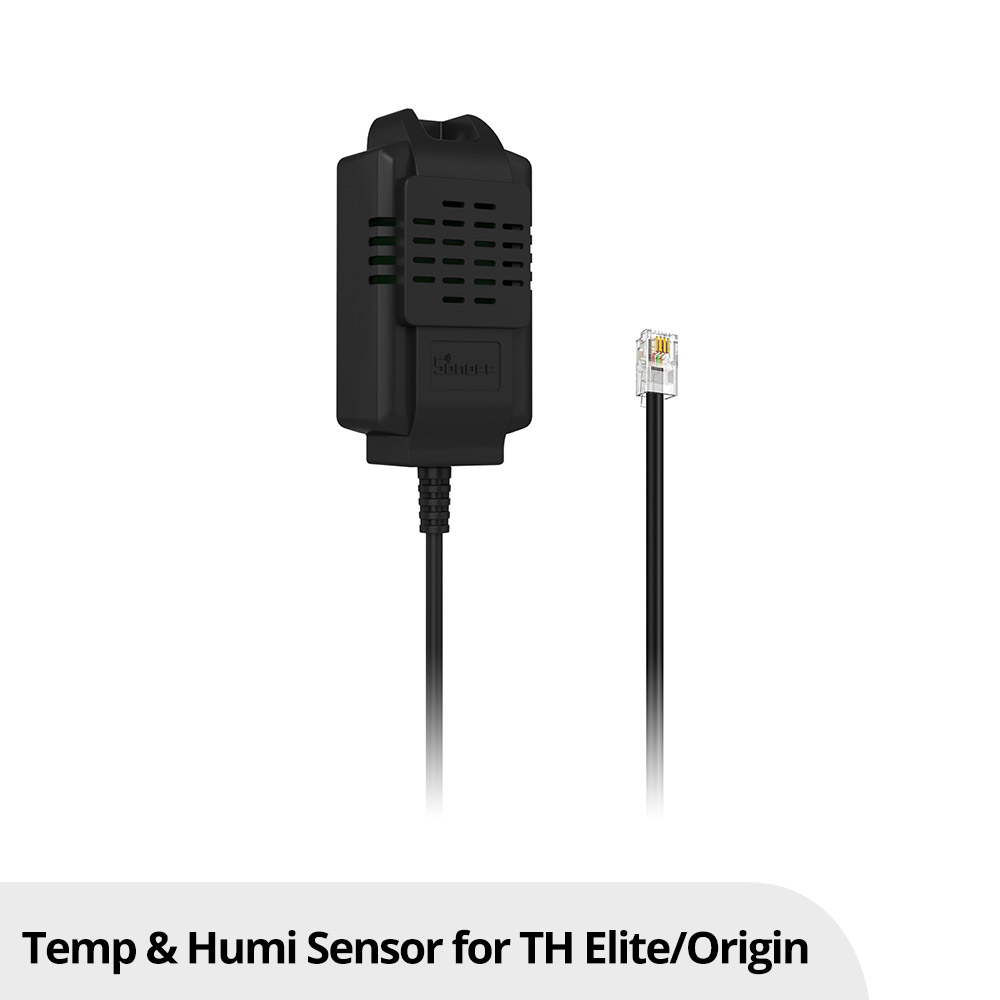
SONOFF THS01 Temp and Humi Sensor
【Wider Monitoring Range】Temperature measuring range from -40℃ to +85℃ and humidity measuring range from 0 to 100%RH. 【RJ9 Connector】The sensor connector is upgraded to RJ9 4P4C, supporting hot-plug…
itead.cc
These will be connected to DS18XXX sensors (4 each).
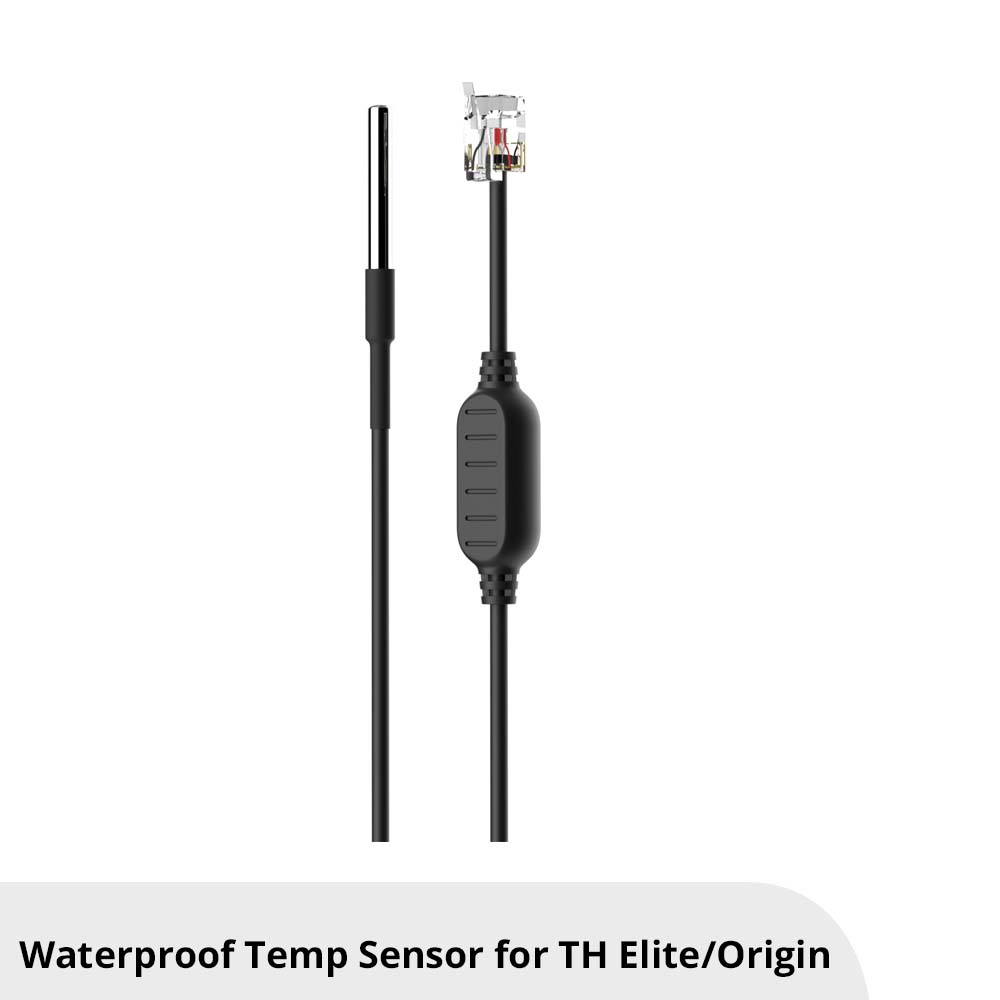
SONOFF Waterproof Temp Sensor for TH Series
【Power Applicability】The waterproof temperature sensor is available for SONOFF TH Elite/TH Origin to detect and measure the temperature. 【Wider Measuring Range】Measuring range from -40℃ to +115℃ to…
itead.cc
Purchased in bulk from Amazon.
Note that it is using a ESP32-D0WD-V3 rev.3 which is a combo WLAN and BT chip. There is no mention of BT on the label.
These are pictures of the new Sonoff DH316 with the ESP-DOWD-V3 rev.3 chip. Firmware includes many features.
Remove 4 philips screws on back and open case. JTAG using following pins which are labeled GND, RXO, TXO, 3V3.
Note here that I have the barebones versions of the Sonoff 16 AMP THR316 Origin device.
There is also the 20 amp version and the display version and the POW version.
Last edited: